Free Halloween Pumpkin Crochet pattern
- Kate Shar
- Oct 16, 2024
- 6 min read
Updated: Oct 22, 2024
Introduction
Join us in celebrating the spirit of autumn with this delightful and festive crochet pattern for a pumpkin! Ideal for bringing a hint of fall magic into your living space, this charming pumpkin decoration is versatile for the seasons of fall, Halloween, and Thanksgiving. Whether you are an experienced crocheter or a beginner, this pattern is easy to follow and can be personalized to match your preferences. Gather your preferred yarn, crochet hook, and embark on crafting a snug pumpkin that infuses a touch of handmade coziness into your surroundings!
You can download Free Halloween Pumpkin Crochet Pattern as PDF at the bottom of the page
Materials Needed
Yarn (any color that suits you):
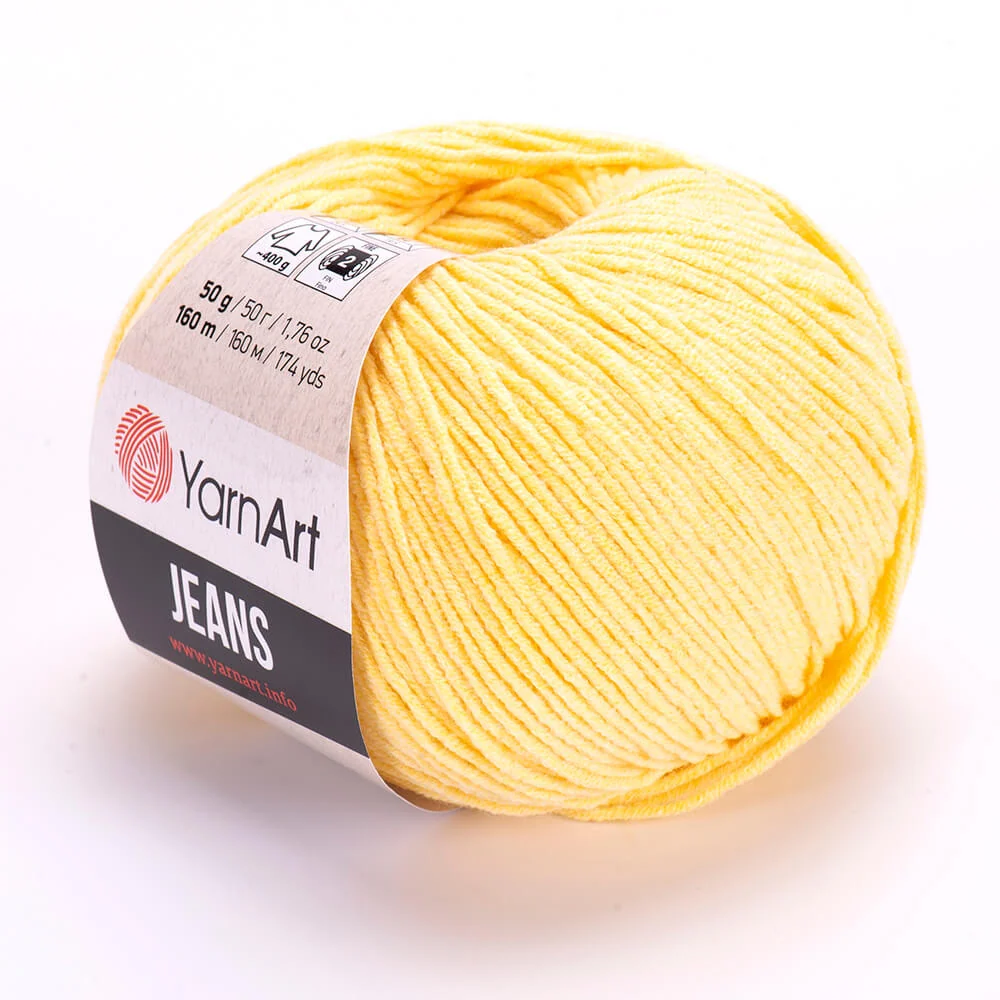
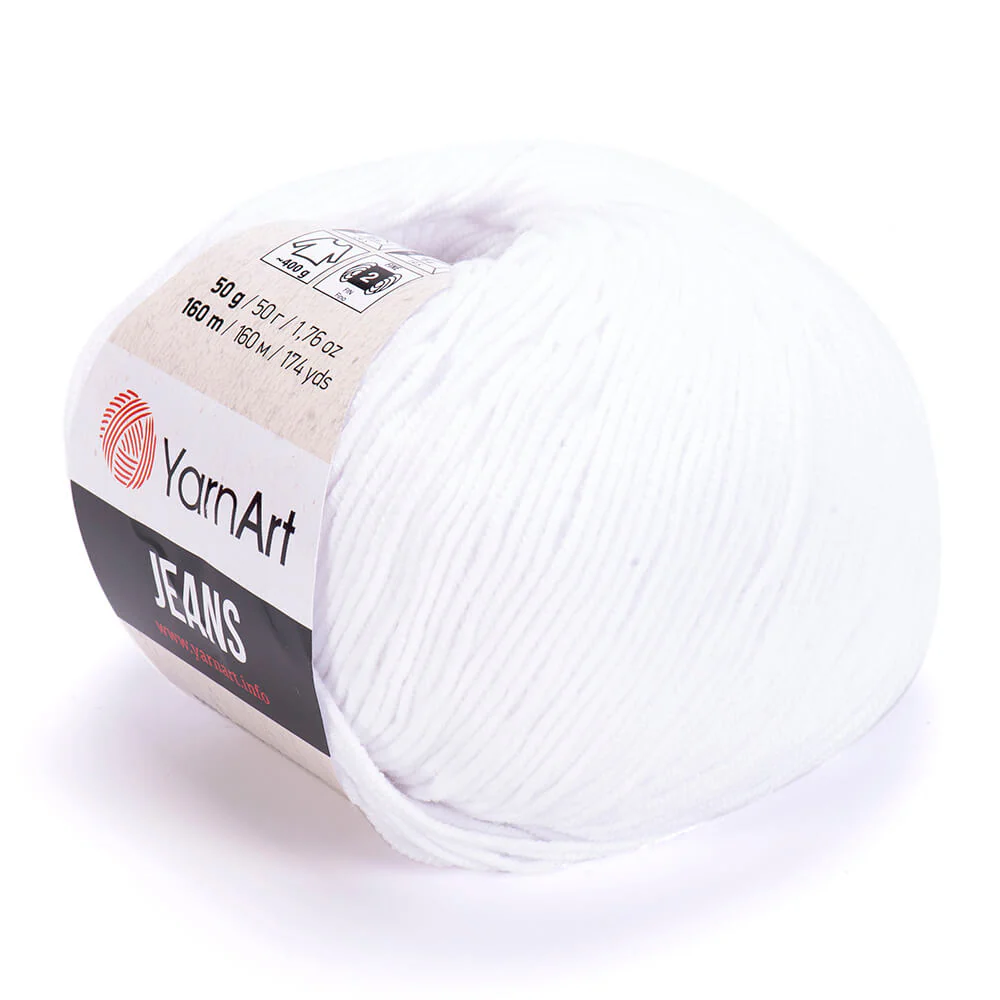
· YarnArt Jeans, Fine-Sport, 50 gr (1.76 oz) / 160 m (174 yd), 55% Cotton, 45% Polyacrylic
o Yellow/orange – main yarn
o Green
o White
o A little bit of black
· Steel Crochet hook size 2.25 mm for the pumpkin
· Steel Crochet hook size 1.75 mm for the leafstalk and eyes
· Long tapestry needle for tightening
· Hollow fiber filling
· Scissors
· Pair of Safety eyes – 6 or 7 mm
· Wire and hot glue (optional).
Pattern Abbreviations
MR = Magic ring
ch = chain
inc = increase
dec = Decrease (crochet two stitches together)
BP = back post
FP = front post
dc = double crochet
rnd = round
st(s) = stitch(es)
sl st (ss)= slip stitch
sc = single crochet
(xx) – count of stitches in this row/round
Finished Size
The finished pumpkin's diameter is 7 cm, and its height is 5 cm without the stem.
Ideas on how you can use this pumpkin
Here are several creative ways to use it:
Thanksgiving Table Decor: Place several crochet pumpkins on your dinner table as part of a festive centerpiece.
Halloween Decor: Use them to decorate your home during the Halloween season.
Gift Toppers: Attach a crochet pumpkin on top of gifts as a charming decorative touch.
Fall Garland: String them together with leaves and other autumnal items to make a decorative garland.
Place Card Holders: Use them at a dinner party with a small card slot to hold place cards.
Fairy Garden Accessory: Add them to a fairy garden setup as pumpkins in a miniature patch.
Keychains: Attach a key ring and use them as adorable keychains.
Pincushions: Fill them with a slightly denser material to turn them into useful pincushions.
Desk Decor: Brighten up a workspace by placing a few on a desk or shelf.
Mantlepiece Display: Arrange a line of crochet pumpkins along your fireplace mantle for a seasonal display.
Window Display: Hang them in your windows as part of an autumn window decoration.
Teacher Gifts: Give them to teachers as a cute fall-themed appreciation gift.
Plant Pot Embellishments: Tie a crochet pumpkin around the base of a plant pot as a decorative embellishment. This can add a cozy, seasonal touch to your indoor greenery and is especially fitting for the fall.
Interactive Story Props: Excellent props for storytelling or playtime, particularly in educational settings like classrooms or libraries.
Holiday Tree Ornaments: Use the crochet pumpkins as ornaments for a Halloween or Thanksgiving-themed mini tree.
Party Favors: Hand them out as party favors at an autumn-themed party.
Accent Pieces Headbands: Attach the crochet pumpkin to a headband for extra autumn flair. This could be particularly adorable for children’s fall-themed accessories or family photos.
Basket Fillers: Fill decorative baskets with crochet pumpkins for a rustic look.
Door Wreaths: Incorporate them into a door wreath with other autumnal elements.
Baby Mobile: Add them to a homemade baby mobile for a nursery.
Bookshelf Knick-Knacks: Tuck them among books on a shelf for a touch of whimsy.
Wedding Decor: Use them for autumn wedding decorations, like in centrepieces or as aisle markers.
Lantern Fillers: Place them inside clear lanterns with fairy lights.
Car Dashboard Accessory: A cute addition to your car’s dashboard decoration.
Seasonal Gift Baskets: Include them in a fall-themed gift basket along with other goodies.
These ideas can help turn your crochet pumpkins into versatile decorations or adorable gifts!
Watch the Full-length Video Tutorial on YouTube.
Free Halloween Pumpkin Crochet Instructions
Pumpkin
Main part
Main color and 2,25 mm steel crochet hook.
Rnd 1: ch 48, 1 sl st to join the circle, ch 2
Rnd 2: 48 dc, 1 sl st in 1st dc to join.

For the next 15 rounds, you will crochet using the Front and Back posts of dc stitches.
Alternate 4 FP dc and 4 BP dc.
Rnds 3-17: ch 2, 4 FP dc,
4 BP dc
Watch vide on how to do this.
Continue alternating until the end -
(4 FP dc, 4 BP dc) x 5, 1 sl st in 1st dc to join (48)

The next row consists of dc decreases only.
Rnd 18: crochet dc decreases only in FP. Ch 2, yarn over, insert the hook under the front posts of 2 stitches

and finish the dc decrease. Repeat 1 more time.
Then ch 2, yo, skip 4 BP dc, insert the hook under the front posts of 2 stitches,

and finish the dc decrease. Repeat until the end, skipping 4 BP dc. Finish with 1 sl st into the 1st decrease. You made 12 decreases.

Fasten off, leaving a length of yarn for sewing up the opening.

Thread a tapestry needle and close the opening.
Insert the needle in each second stitch around. Pull the tread tight to close the opening. Make a few more stitches in the middle to close the hole. Fasten off and hide the loose ends inside.
Stuff the pumpkin moderately light so you can later make the tightening.

Close the second opening.
Thread a tapestry needle with the main yarn. Attach the yarn at the corner of one of the front post dc stitches.
Put the needle behind the 4 FP stitches around the edge and tighten it (skip the 4 back post stitches).

Pull the thread tight. Make a few more stitches at the top to close the opening completely and secure the thread.
Insert the needle into the center and take it out on the side.
Cut the yarn.

Tightening
In the middle
Thread a tapestry needle with the main color yarn.
Attach the yarn in the center (better at the side that looks less neat. It will be covered with the stalk later).
Make several tightening stitches in the center.

Pull the thread tight and secure it.
On the BP sides
Pull the FP stitches aside to find the start of the BP stitches.

Insert the needle under the BP stitches in the middle of one of the sides from the top to the bottom.
Pull the thread tight.

Insert the needle into the center and take it out on another side.
Repeat the tightening stitch on 5 more sides.
Secure the thread in the middle with a few more stitches. Pull tight and cut the thread very close to the pumpkin.

Eyes (make 2)
White color, hook 1.75 mm
Crochet in a continuous spiral.
Rnd 1: 6 sc in MR
Rnd 2: 6 inc (12)
Rnd 3: 1 sc, inc, ch 2, skip 2 sc, (inc, 2 sc) x 2, inc, 1 sc (16)
Rnd 4: (inc, 3 sc) x 4 (20)
Rnd 5-7: 1 sc in each stitch around (20)
Attach safety eyes.
Rnd 8: (2 sc, dec) x 5 (15)
Rnd 9: 7 dec.
Stuff the eye.
Fasten off, leaving a length of yarn for sewing the opening.
Thread a tapestry needle with the yarn from the eye and close the opening.
Insert the needle into the center and take it out on the side. Pull the thread. Cut the yarn very close to the eye.

Embroider the mouth
Thread the tapestry needle with black yarn.
Insert the needle from the side where the pumpkin's leafstalk will be and take it out at the point of the 2 and 3 FP dc.
I make a French knot embroidery stitch between the stitches, wrapping the yarn 5 times around the needle.

Once the French knot is done, take the needle back to the top where you started.

Cut the black yarn.
Embroider the nose
The nose is 2-3 stitches up from the mouth.
Thread the tapestry needle with the main color yarn.
Insert the needle from the top and take it out of the place of the start of the mouth.

Make a French knot by wrapping the yarn around the needle 8 times.
Lay the “coils” of the stitch flat. Insert the needle next to the mouth and take it out at the top.
Cut off yarn.

Pumpkin’s leafstalk.
Green color, hook 1.75 mm
Crochet in a continuous spiral.
Rnd 1: 6 sc in MR
Rnd 2: (1 sc, inc) x 3 (9)
Rnd 3-6: 1 sc in each stitch around (9)
Rnd 7: 4 sc, inc, 3 sc, inc (11)
Rnd 8,9: 1 sc in each stitch around (11)
Rnd 10: 5 sc, inc, 4 sc, inc (13)
Rnd 11,12: 1 sc in each stitch around (13)
Rnd 13: (1 sc, inc) x 6, inc (20)
Rnd 14: (1 sc, inc) x 10 (30)
Rnd 15: 30 sc, 1 sl st.
Fasten off and weave in the end.
TIP: You can insert a wire piece into the leafstalk to shape it. It can be craft pipe cleaners.
Stuff the leafstalk and glue/sew it on.
Glue the eyes onto the pumpkin.

Your pumpkin is ready!
Did you enjoy making this Pumpkin? If yes, Do you want more video patterns like this?
Vote On Which Video Pattern Should Be Published. Click on the Toy you like!
0%Do you want this video Pattern?
0%Do you want this video Pattern?
0%Do you want this video Pattern?
0%Do you want this video Pattern?
You can vote for more than one answer.
Download the Free Halloween Pumpkin Crochet Pattern in PDF format.
Thank you for reading!
More free patterns are coming soon.


Thank you very mach!